

If there is one thing I would love to be more organised with since having kids it's all the photo's I take. And from talking with friends it seems like it's something we all want to get on top of, but one of the hardest things to actually do! I did a massive cull of my digital photo's in my iPhoto recently - but still have a crazy amount in my iPhoto library. And that's only from the last 5 or so years, I haven't got digital copies of photos from further back than that. I used to print photo's out and put them into albums, but since Jack was about one I haven't done any photo albums (he's four and a half now!) So I have a big project ahead of me (as I'm sure many of you do too) and I decided to break it down into what I really want to do with all these photo's.
1. Make a family photo wall
2. Print and frame photo's of friends and friends weddings to have around our home
3. Print photo's for the kids to have in their bedrooms
3. Make a photo book for each year starting back with 2012. I have gone off printing photo's and putting them into albums as some of the ones I did when Amelie was born are already showing signs of wearing out, and I still have heaps of albums with the photo's all thrown in and no captions or anything describing the when/where etc of some of the photo's. A friend of mine has started doing yearly phonebooks for her kids and they look amazing, plus it makes you far more selective with what photo's to put in! I think I have a whole album of the first 4 months of Amelie's life compared with 1 album so far for Jack...
4. Have an efficient system for saving and backing up photo's in case of broken or stolen lap top and/or phone, or a fire.
So when I was asked to review the new Brother MFCJ4620DW printer I thought it would be a great chance to tick the first thing off my list- making a family photo wall. This printer is awesome- it prints wirelessly which is so handy, has a paper tray inside the printer (my old printer had a paper tray that stuck out of the printer so the kids were constantly taking the paper out of it!), prints really quickly, can print A3 size documents, prints great quality photo's, and can also scan and copy. I use a home printer all the time for teaching stuff, my craft classes, printing out colouring sheets for the kids, and just general house admin stuff so I am loving my new printer :)

So here are my tips and hints for making your own family photo wall at home. When I was on Pinterest last year for home ideas I saw lots of pics of 'staircase galleries' which seems to be a bit of a traditional thing, plus it is a great use of a plain wall. But any blank big wall will do!
Also I have pinned lots of pics of 'staircase galleries' on my Pinterest page for inspiration

Family Photo Wall Tips and Hints

Choosing photo's to frame
I went through all the piles of photo's I had already printed that I just had in boxes waiting for me to do something with and chose ones I'd like to frame for the photo wall. I wanted wedding photo's (not just ours but our siblings as well), photo's of the grandparents and great grandparents, photos of us before we had kids, photo's of special holidays, school photo's plus lots of my favourite photo's of the kids. I also went through my iPhoto library and made an album of photo's I wanted to print using my Brother printer. You can buy A4 size and 6 x 4 size Brother photo paper for your Brother printer so for the 5 x7 and 6 x8 size photos I wanted to print I just printed onto the A4 sheets and cut them to size.

I had heaps of white frames already from other art works and displays from our old house (like this one I made using greeting cards http://domesticblissnz.blogspot.co.nz/2010/02/art-idea-for-childs-room.html) so I just re-used the frames I wanted to change. I also bought more frames from Warehouse Stationery and Farmers when they both had 50% off their frames. The other stores I would look for budget friendly frames are The Warehouse and Briscoes.
I have a mix of frames for this project so I can add to it over time- one day the wall will be covered in frames! If you stick to one type of frame it will be a lot harder to add to your gallery over time unless you go mad and buy a massive stash of them! I actually like the mix of frame styles as it adds a bit of interest on the wall too. My advice would be to keep an eye out for sales at any of these stores, and stock up on a few when you can.
Lots of people change their photo's to black and white for this type of display which does look very stylish. I chose to keep the photo's colour but you choose whatever suits your style and your home.
You could always mix it up with a few frames of different shapes e.g.: a few oval ones can add interest. You could also add art works into your gallery, quotes, block letters or decals. I added two art works into my gallery- this family themed print I bought from Cheryl Rawlings


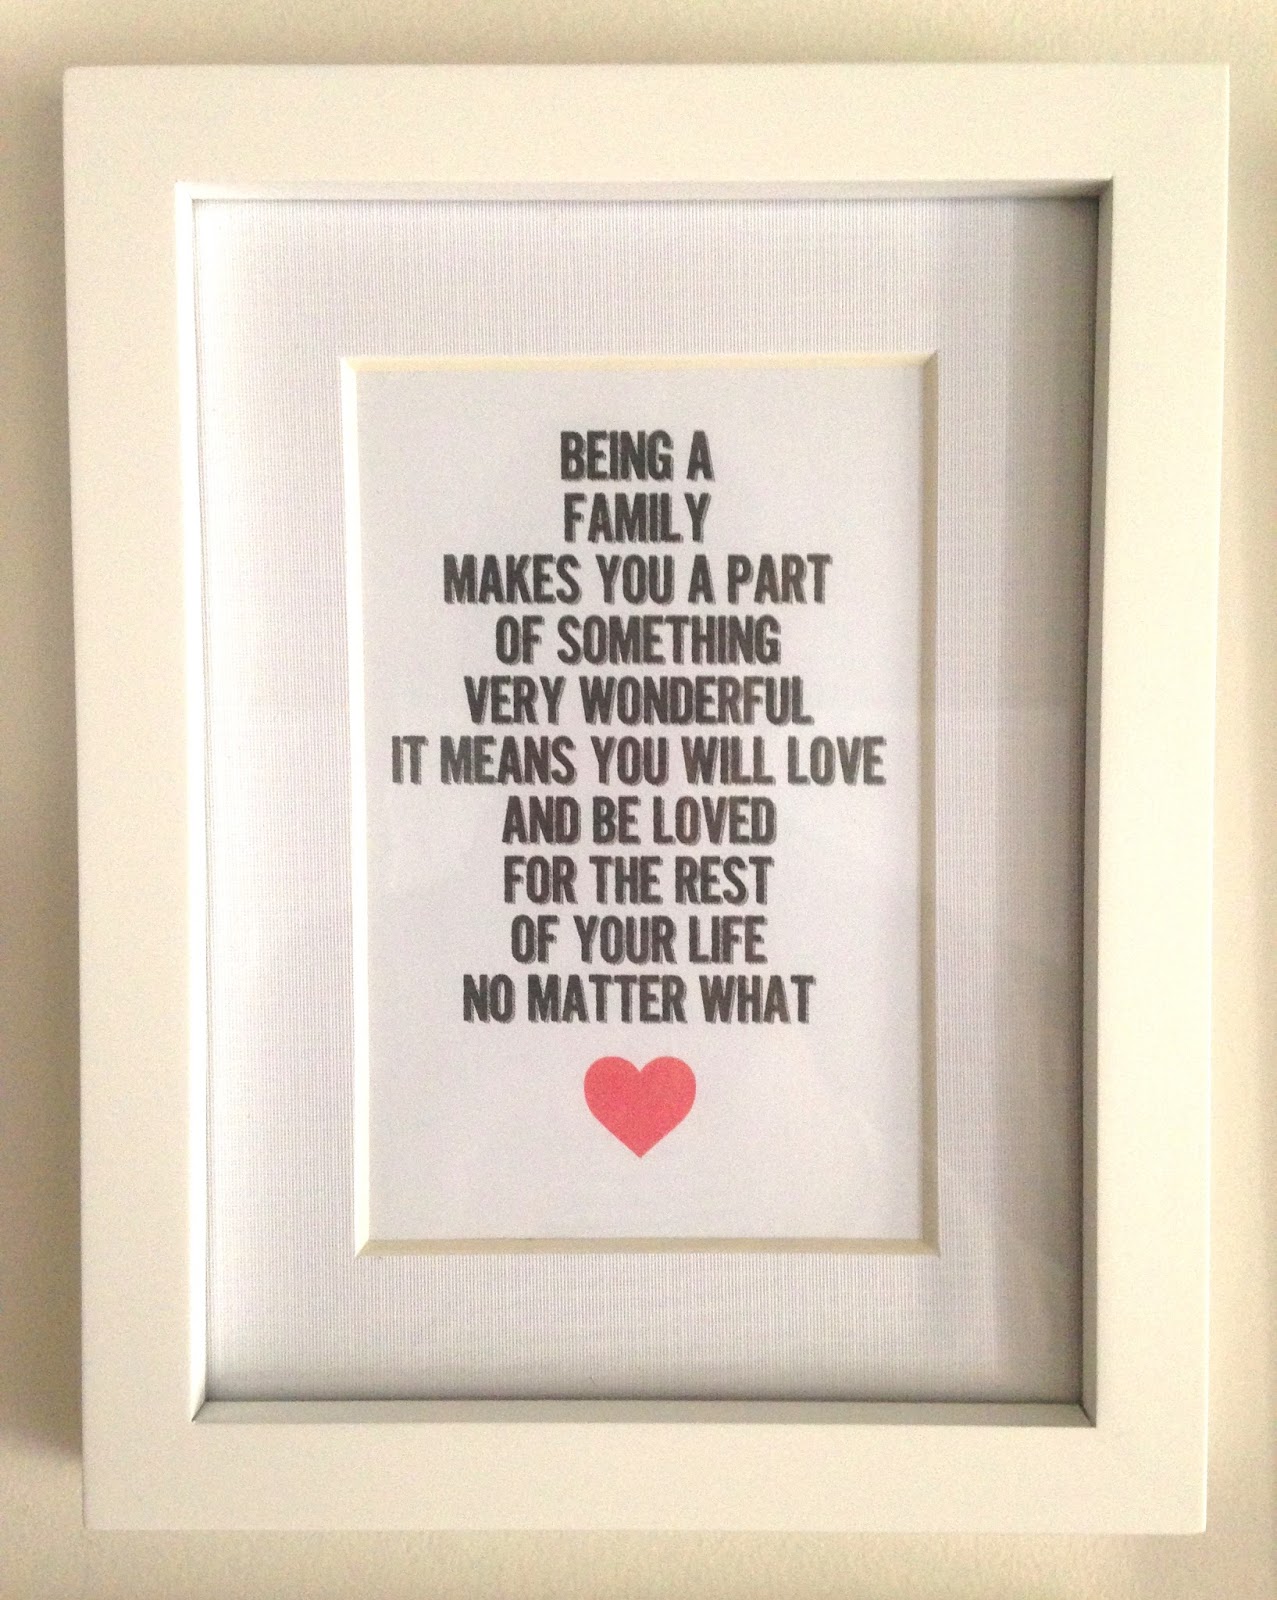
and I had a brainwave to google 'family quotes' so I typed one up using Pages on my mac laptop, and printed it out on my new Brother printer- love it!


Another idea is to buy the multi style frames where you can put a few photo's on the one frame- I have two on my wall. Probably works out cheaper to buy these compared to buying single frames and would make for less holes in the wall too.
Try to mix up the sizes of your frames- if you use too many small frames your wall might look a bit 'bitty'- I used quite a few small frames as I was using a lot of what I already had (plus they are way cheaper to buy ) but just make sure you put a few larger ones in there too for balance.
There are lots of ways to get started on planning your gallery wall such as mapping out all your photos using brown paper templates of your photos, or measuring to get even heights, but for our wall we didn't that- we just stuck the first photo up by the light at the bottom of the stairs, and just worked our way up from there. So it was all done by eye, meaning it's not perfectly aligned but if we did that first it would be months before we managed to get them all up on the wall! There are lots of ideas for arranging your wall on Pinterest if you do like yours to be more exact with the layout! (search "staircase gallery' on Pinterest)
Buy a small level like this one in this pic below to line up your frames- they often come with a pack of picture frame hooks from dollar value type stores or hardware stores. Use a tiny bit of blutak if need be to keep them straight, as long as it won't rip your paint off when you remove it!

So there you go, lots of ideas for creating your own family photo wall- I love ours and am really pleased with how it turned out. Lots of room for more photo's to come too :)

And stay tuned for a special giveaway coming up on my Facebook page- thanks to Brother NZ I am giving away one Brother MFCJ4620DW home printer worth $249.95 to one lucky mousehouse reader!
Links:
Thanks for reading,
Megan


